Guide
How to Add Mosaic Blur to an Image in Your Browser
Use a browser-based mosaic image tool to pixelate faces, names, or sensitive areas without uploading the file anywhere.
When you need to hide a face, address, or private detail in a screenshot, a quick mosaic effect is often enough. The useful part is doing it locally, without sending the image to a server.
Quick answer
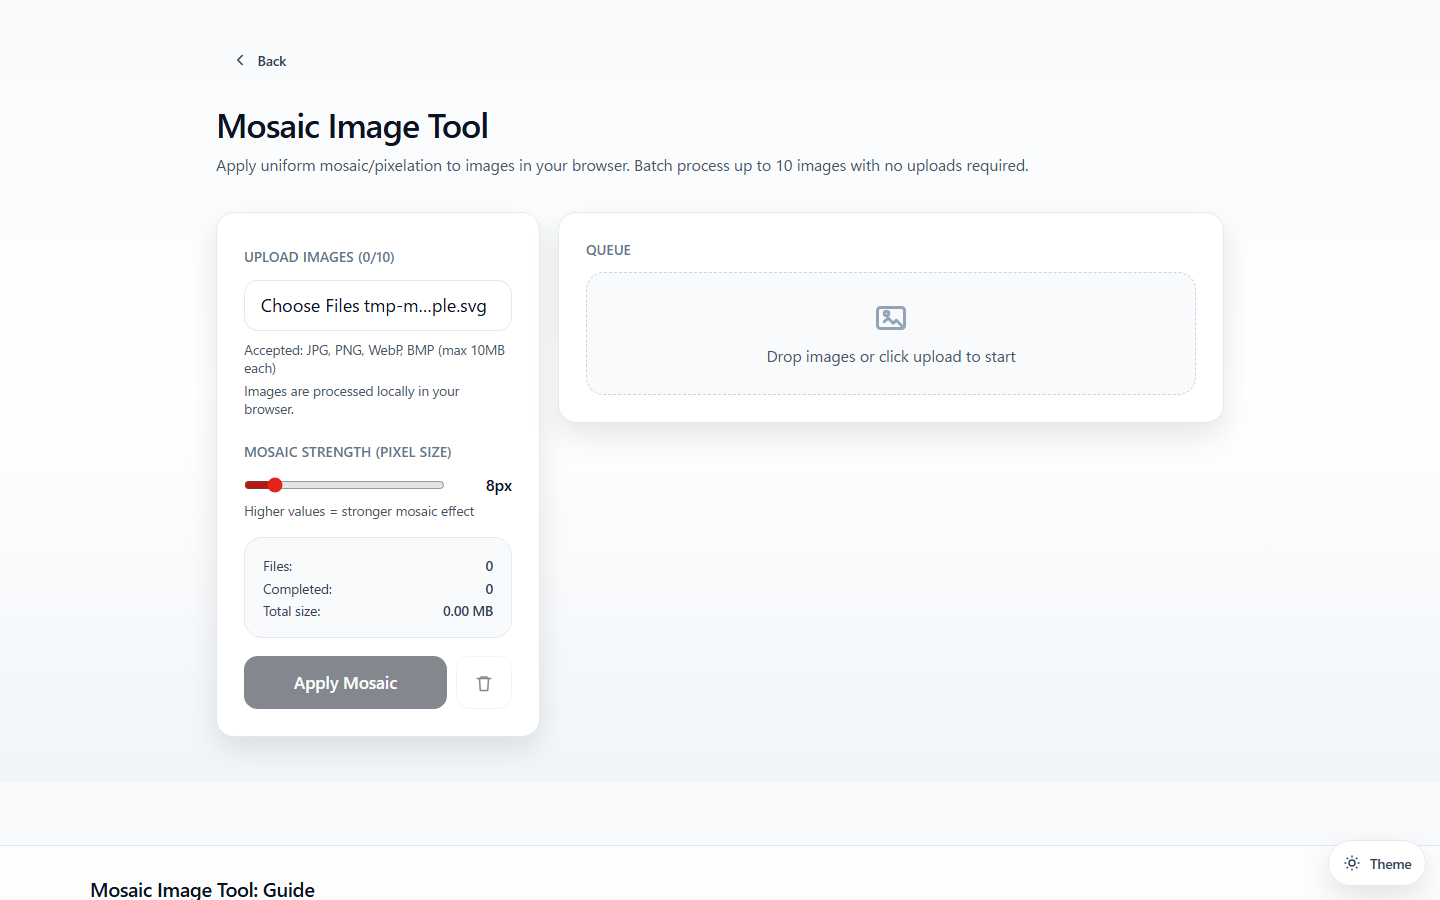
To add mosaic blur to an image, open the Mosaic Image Tool, upload the file, adjust the pixel size until the hidden area is no longer readable, preview the result, and download the processed image. The file stays in your browser.
What this tool does well
- Accepts common image formats
- Lets you change mosaic strength
- Shows a live preview
- Processes files in the browser
- Supports batch handling for multiple images
When mosaic is the right choice
Use mosaic when you need fast visual redaction for:
- screenshots
- shared photos
- documentation images
- social posts with private details
Mosaic vs blur
Both are used for redaction, but they feel different:
- Mosaic / pixelation is obvious and visually communicates that something was intentionally hidden.
- Blur can look softer, but depending on the strength, some shapes may still remain recognizable.
For screenshots and operational documents, mosaic is often the clearer signal.
A practical workflow
- Upload the image
- Adjust pixel size until the hidden area is no longer readable
- Preview the result
- Download the processed image
What you may want to hide
- names
- faces
- addresses
- invoice numbers
- chat handles
- browser tabs or account details in screenshots
Why local processing matters
For privacy-sensitive images, not uploading the original file is often the whole point. Browser-local processing keeps the source image on your machine while still giving you a shareable result.